sudo du -hc --max-depth=1 /varBlog
Change Shelly MQTT update period
Shelly devices are very active on MQTT: they send an update of their status by default every 30 seconds, even when the status didn’t change. Use the following HTTP command to change the update period:
http://x.x.x.x/settings?mqtt_update_period=300In this case I chose 300 seconds, 5 minutes.
Installing the UniFi Network Application on Raspberry Pi
Unfortunately MongoDB does not have an ARM64 bit package for Raspberry Pi yet, so I’m installing this on a Raspberry Pi with a 32-bit (Debian-based) Raspberry Pi OS:
sudo apt update && sudo apt full-upgrade -y && sudo apt autoremove -y && sudo apt-get autoclean -y
sudo apt install openjdk-8-jre-headless jsvc libcommons-daemon-java -y
sudo apt install haveged -y
sudo apt install mongodb-server mongodb-clients -y

echo 'deb https://www.ui.com/downloads/unifi/debian stable ubiquiti' | sudo tee /etc/apt/sources.list.d/100-ubnt-unifi.list
sudo wget -O /etc/apt/trusted.gpg.d/unifi-repo.gpg https://dl.ui.com/unifi/unifi-repo.gpg
sudo apt update && sudo apt install unifi -y
Go to your UniFi Controller via the IP address and port, for example: https://10.1.0.5:8443
Disable InfluxDB HTTP Post logging
Find the InfluxDB configuration file in /etc/influxdb/influxdb.conf and adjust the following line:
# Determines whether HTTP request logging is enabled.
log-enabled = falseEmpty Linux log files
If you echo nothing to a file, it will clear the content to empty it. Just using sudo will not work, you need to be root!
sudo su
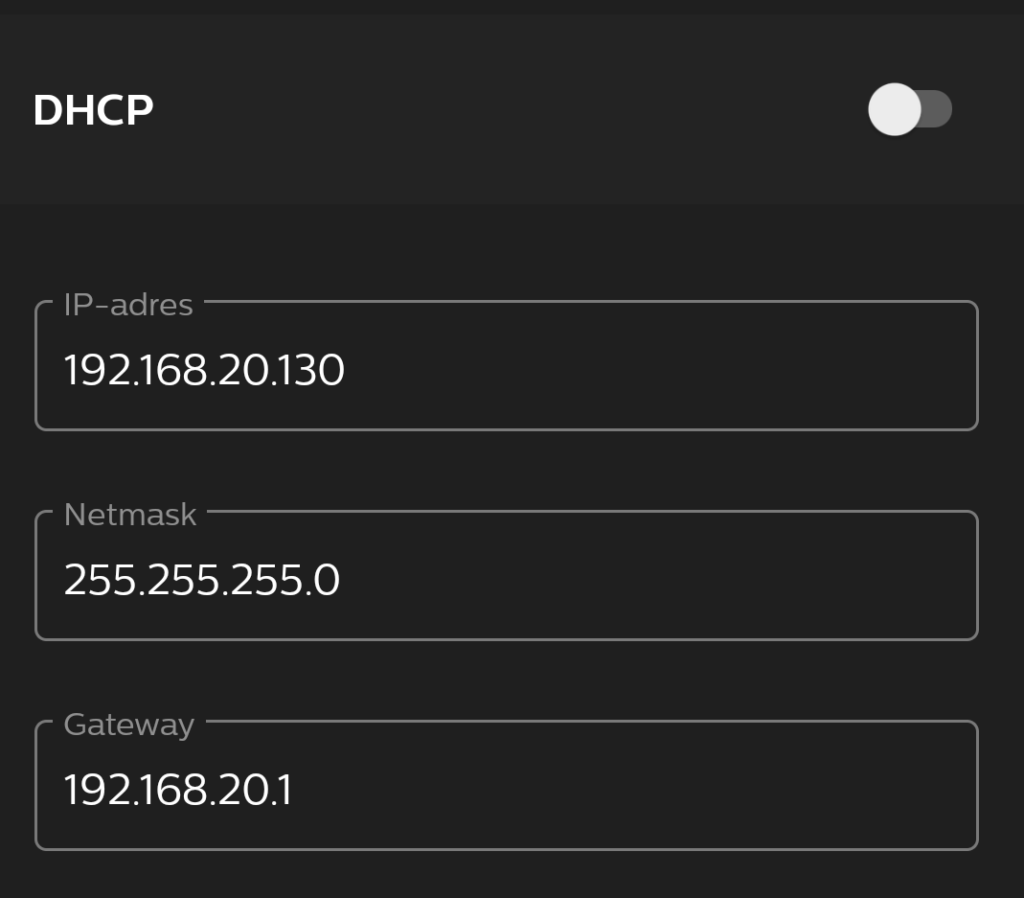
echo "" > logfileConfigure a fixed IP address on a Hue Bridge
To configure a fixed IP address on the HUE bridge, you need to browse to the bridge using:
http://x.x.x.x/api/[bridge-user]/configUse a HTTP PUT command to configure the IP address and use as body:
{ "ipaddress":"[new-ip]", "dhcp":false, "netmask": "[network-netmask]", "gateway": "[network-gateway]" }Alternatively, you can use the HUE app and change the network settings in the bridge configuration.

Updating Eclipse Ditto
Stop running containers using docker-compose and remove the containers.
docker-compose stop
docker rm docker_nginx_1
docker rm docker_connectivity_1
docker rm docker_gateway_1
docker rm docker_things_1
docker rm docker_concierge_1
docker rm docker_things-search_1
docker rm docker_policies_1
docker rm docker_mongodb_1
docker rm docker_swagger-ui_1
docker system prune -a
Download the latest Ditto zip from Github and re-run docker-compose.yaml.
This folder contains an example docker-compose.yml which can be used to start Eclipse Ditto with its backing Database – MongoDB – and a reverse proxy – nginx – in front of the HTTP and WebSocket API.
Eclipse Ditto :: Docker
Source: https://github.com/eclipse/ditto/blob/master/deployment/docker/README.md
Configure nginx
The nginx’s configuration is located in the nginx.conf file and contains a “Basic authentication” for accessing the HTTP and WebSocket API. The users for this sample authentication are configured in the nginx.httpasswd file also located in this directory.
In order to add a new entry to this file, use the “openssl passwd” tool to create a hashed password:
openssl passwd -quiet
 Password: <enter password>
 Verifying - Password: <enter password>
Append the printed hash in the nginx.httpasswd file placing the username who shall receive this password in front like this:
ditto:A6BgmB8IEtPTs
Configuration of the services
You may configure each service via passing variables to the java VM in the entrypoint section for each service.
...
# Alternative approach for configuration of the service
command: java -Dditto.gateway.authentication.devops.password=foobar -jar starter.jar
To get a list of available configuration options you may retrieve them from a running instance via:
# Substitute gateway with the service you are interested in
curl http://devops:foobar@localhost:8080/devops/config/gateway/?path=ditto
Or by going through the configuration files in this repository e.g. /services/gateway/starter/src/main/resources/gateway.conf.
Start Eclipse Ditto
docker-compose up -dCheck the logs after starting up:
docker-compose logs -fStop Eclipse Ditto
docker-compose downInstalling .NET 6 on a Raspberry PI (Debian)
Create a folder, for example /app/dotnet6, and assign ownership to the right user:
sudo mkdir /app/dotnet6
sudo chown -R pi /app/
Download the .NET 6 SDK at Microsoft:
wget https://download.visualstudio.microsoft.com/download/pr/adcd9310-5072-4179-9b8b-16563b897995/15a7595966f488c74909e4a9273c0e24/dotnet-sdk-6.0.100-linux-arm64.tar.gzExtract the tar.gz file in the /app/dotnet6 directory:
sudo tar zxf dotnet-sdk-6.0.100-linux-arm64.tar.gz -C /app/dotnet6Test the .NET6 installation by browsing to the installation directory and execute the dotnet –info command:
cd /app/dotnet6
./dotnet --info
.NET SDK (reflecting any global.json):
 Version:   5.0.101
 Commit:    d05174dc5a

Runtime Environment:
 OS Name:     debian
 OS Version:  10
 OS Platform: Linux
 RID:         debian.10-arm64
 Base Path:   /app/dotnet/sdk/5.0.101/

Host (useful for support):
  Version: 5.0.1
  Commit:  b02e13abab

.NET SDKs installed:
  5.0.101 [/app/dotnet/sdk]

.NET runtimes installed:
  Microsoft.AspNetCore.App 5.0.1 [/app/dotnet/shared/Microsoft.AspNetCore.App]
  Microsoft.NETCore.App 5.0.1 [/app/dotnet/shared/Microsoft.NETCore.App]

To install additional .NET runtimes or SDKs:
https://aka.ms/dotnet-downloadIncreasing the maximum upload file size in WordPress
Locate php.ini. For Debian this file is located in:
/etc/php/7.4/apache2Search for the following configuration lines (in nano use CTRL+W for search) and replace the existing configuration values with acceptable values.
max_execution_time = 60
memory_limit = 128M
post_max_size = 64M
upload_max_filesize = 64M
max_input_time = 60
file_uploads = On
safe_mode = Off
Locate .htaccess file in the root of your wordpress directory and add or adjust:
php_value upload_max_filesize 64M
php_value post_max_size 128M
php_value memory_limit 256M
php_value max_execution_time 300
php_value max_input_time 300
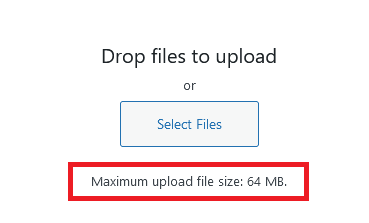
When you open the media library in WordPress and try to upload a file it should reflect the maximum configured upload file size:

MTP Panel: Defining your OKRs in 2022

Source: https://www.mindtheproduct.com/mtp-panel-defining-your-okrs-in-2022/
OKRs: the essence of what we do, building metrics, achieving outcomes.
What are the foundational steps of building good OKRs?
Prerequisite: psychological safety and a real vision: where are we going? Understanding where you are as an organisation helps. The organisation needs to be comfortable with metrics.
The reason we are doing OKRs is alignment: we want to work towards the same goal and everyone needs to have the same expectations.
Questions
- How does the organisation needs to evolve to move to OKRs?
- What does the organisation want to achieve with OKRs?
- Do we want to deploy OKRs on team, organisation, or company level?
- What is the outcome (goal) we want to achieve? (moving from output to outcome)
- Ask the why: really understand what is going on. If this idea works, which numbers will move? Then widen the solution space on the moving numbers.
- You can set OKRs to start measuring outcomes.
- What does success look like?
- What lever are you using for prioritisation? How do you chose the objective with the highest impact?
- Who do you involve in crafting OKRs?
Objectives
Use SMART: Specific, Measurable, Actionable, Relevance, Time-bound. Focus on outcomes over outputs. Focus on positive change.
If you’re spending less than 50% of your time on achieving the objectives then you should ask what the goal of using OKR is? If you didn’t work on the objective, it might not be the most important objective to achieve. Does the priority fit?
Key results
Here is what I want to do to achieve this objective.
